Thursday, 4 April 2013

How to make Spaghetti Carbonara & Focaccia Bread!

Hello ma'lovelys, todays post is going to be about cooking! I had a down moment during the week as my numbers of followers had gone down, and had no comments on my last two posts. So I had thoughts about not carrying on with my blog, because nobody was interested. However I tweeted about it, and some lovely ladies Kirsty, Melissa and Ellie encouraged me and told me not to give up - which was really sweet of them. Ellie also gave me inspiration to do more posts about cooking as its great for people our age to learn recipes for the future.
Todays cookery lesson - Spaghetti Carbonara & Focaccia Bread!
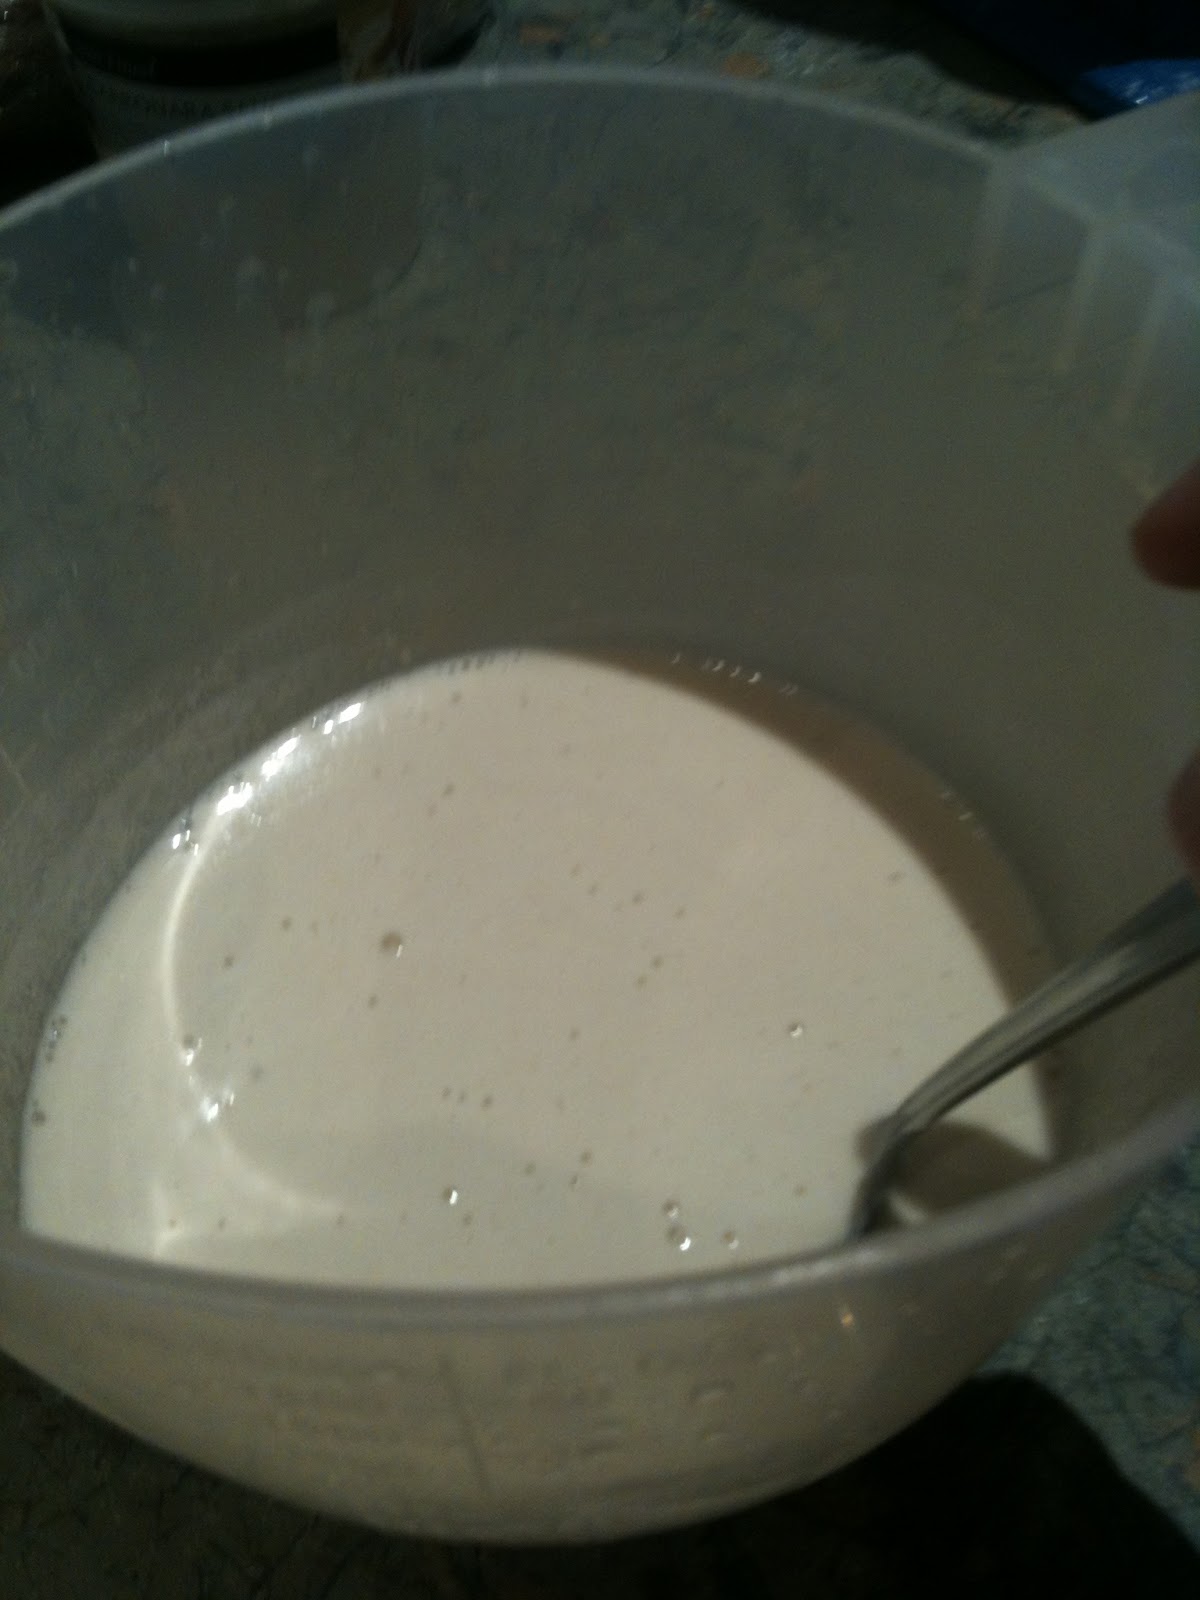
We'll start with the Focaccia Bread. Grab a mixing bowl and add warm water, sugar and yeast and mix with a spoon.
Measurements I used:
1/4 pint of warm water
Tsp of sugar
Tbsp of yeast

Leave the bowl in a warm area for it to rise. While that is happening, in another bowl add self raising flour, salt and lard (or oil). Using your fingers gentle rub in the lard to the flour.
Measurements I used:
650g self raising flour
Tsp salt
25g lard


Pour the yeast mixture into the flour mixture, add a drop more water and a splash of oil and stir in circular motions.
WARNING - next bit is messy!
Sprinkle flour onto a work surface and tip out the dough.
Start working the dough by using the kneading technique.
Kneading technique.
Pull, stretch, fold, push.

The dough should form into a rounded shape; place this back in the bowl with oiled cling film on top, and place back in warm area for 10 mins.

After letting the dough prove, take it out onto the floured work surface again and knead a few times., After the kneading use a rolling pin to roll it out into a rounded square.

 Place it onto a floured tray and use your finger tips to make slight holes all over the dough.
Add a bit of rosemary to each hole and then sweep some oil over the top.
Put it into the oven at 230 degrees and cook for 15 - 20 mins (until golden brown).
When it is ready, take it out. Add another sweep of oil all over and add a sprinkle of sea salt.
  
Now for Spaghetti Carbonara .
Add water and a pinch of salt into a saucepan and boil.

Prepare the meat. Cook bacon if that's what your using, for mine I just used some cold cooked ham.

Add spaghetti to the saucepan of boiling water, and let it simmer until al dente (or soft which ever you prefer).
While that is cooking add 2 eggs and 1 egg yolk into a bowl, and whisk.
Add a drop of cream and some cheese and mix this all together.
Drain the spaghetti into a strainer and pour the Carbonara sauce into the saucepan.
Add the meat and stir through, then add the spaghetti back in and stir again.
Pour into a serving bowl or directly into bowls and top it off with a sprinkle of grated parmesan cheese.
So there we go ma'lovelys, hope you enjoyed learning to cook with me :)
Feel free to leave a comment!

Thanks again to the wonderful Ellie, Kirsty and Melissa!
Love Char_Beyy xxx

Tuesday, 2 April 2013

A sneak peak into my life in the month of March!

Hello ma'lovelys, today I thought I would share with you a few things that I got up to in the month of March.
 
I did quite a bit of cooking through this last month, I found watching cookery programs really gave me inspiration to work in the kitchen.
 
Chicken Salad


Spaghetti Bolognaise


Indian


Easter


Some other pictures


 I hope you enjoyed taking a sneaky peak into my life.
Feel free to leave comments, each one is truly appreciated :)
 
Love Char_Beyy xxx


Friday, 29 March 2013

Huge whishlist & general chat!

Hello ma'lovelys, hope we are all well? *grins*. Sorry I haven't posted in a while, its been manic with course work.. but hopefully we will catch up over this Easter break.


Well first news is that my gorgeous boyfriend and I have been together two years today! Wow, that's a long time for people our age. We have had our ups and downs, but have always pulled through in the end. Lets hope we can make it another two years (fingers crossed for me!)


 Next up is that I will be starting work for a week this Easter, to try help me get back in the swing of things. Hopefully that will go well, and I will wear my new work clothes (see here).
 
I am so looking forward to working, I think it will help me mature and understand the concept of money better. On the other hand, I cant wait to start earning! There are loads of items I would love to purchase, also to save up money for my holiday this summer.
 Which leads me on to my beloved whishlist.


I will start with my Clothes & Bag Whishlist!
 
 Part 1


 New look - Pink Button Tie Front Crop Vest - £4.99
River Island - Coral frilly sleeveless blouse - £22.00
New look - Cameo Rose Pink Ombre Crochet Vest - £16.99
Zara - Office City Bag - £49.99
New look - Mela White Lace Contrast Collar Sleeveless Dress - £30.00
River Island - Light wash adore belted denim shorts - £30.00
 New look - Blue and Black Aztec Mesh Panel Crop Top - £9.00
 
 
 Part 2


New look- Cameo Rose Black Butterfly Pocket Vest - £9.99
New look - Coral Textured Zip Back Crop Top - £12.99
New look - Black and White Aztec Stripe Crop Top - £9.99
New look - 3 Pack Navy Red White Strappy Vests - £6.99

New look - Te Amo Burgundy Stripe Heart Cut Out Top - £9.99
 New look - Pieces Black Keri Turn Up Denim Shorts - £21.99
New look - Desert Lily Blue Paisley Heart Print Tie Front Shirt - £16.99
 
 ~~~~~~~~~~~~~~~~~~~~~~~~~~~~~~~~~~~~~~~~~~~~~~~~~~~~~~~~~~~~~~~~~~
 
 
Beauty, Body & Hair Whishlist!
 
Part 1


Real Techniques -  Powder Brush - £12.99
 Soap & Glory - Sit Tight™ Intense XS - £16.50
Biodema -  Sensibio H20 - £22.00
Lush - No drought Dry shampoo - £6.50
Sleek - Face Form - £10.00
Real Techniques - Core collection - £18.00
Real Techniques - Blush Brush - £9.00


 Part 2


Mua - Brow kit - £3.50
Bobble - Water bottle - £8.99
Real Techniques - Starter set - £18.00
L'Oreal - Super Dust - £11.05
L'Oreal - Superliner Perfect Slim - Black Intense - £6.99
Mua - Undress Me Too Palette - £3.00
 
 
 ~~~~~~~~~~~~~~~~~~~~~~~~~~~~~~~~~~~~~~~~~~~~~~~~~~~~~~~~~~
 
Woah think I need to start earning and saving my money! hehe.
 
Hope you liked todays post.
Feel free to leave me a comment, each one is appreciated :)
Love Char_Beyy xxx


Sunday, 17 March 2013

New work clothes haul & foundation review!

Hello ma'lovelys, I will be starting my new office job soon so I decided to go on a little shopping trip.

Now normally Marks & Spencer's wouldn't be my first choice of a shop to go looking for clothes in, however I had spotted a few suitable work items online so decided to pop in and see for myself. 

The first item I brought was this navy blue top with white polka dots on it. There is also a tie to the side.This top was only £6 (such a bargain I think).


The next top I brought was a multi-toned cream and brown thread top with colourful cute little birds on
It also has criss-cross ruched tie to the side and this was £13.


Next I brought a skirt, I hardly ever wear skirts but I just had to get this; its so cute!
It is a mixed pattern design skirt in white and black. It fits just above the knee and has a straight zip down the back. This was £19.


 The last item I brought was a dress. It is a panel dress with three quarter length sleeves, and has black and white stripes running through it. This dress was £29.


So after I made these purchases, I popped into boots to pick up the Rimmel London Wake Me Up Foundation. So here comes a review!


I absolutely love this foundation, it gives a really gorgeous glowy look and makes you feel like you have a natural dewy complexion. This foundation is great for the spring/summer time and I will be doing a look for that soon. 

The foundation is really soft and glides perfectly onto the skin, it also smells amazing; not like many other foundations which have a really nasty distinctive smell.

I used my Real Techniques Stippling brush to blend the foundation on to my skin. I only needed a small amount of foundation to cover my whole face and it gave me a medium to full coverage.

A few photos to show the foundation, with a finished look of a dark purple and black smokey eye!                                       


Hope you liked my work clothes haul and enjoyed my review of the Wake Me Up Foundation.

Feel free to comment below and don't forget to follow me on GFC and Bloglovin! :)

Love Char_Beyy xxx

Friday, 1 March 2013

Benefit foundation and Tanya Burr Inspired!

Hello ma'lovelys, I popped into Debenhams the other day while purchasing my mothers birthday present and stopped by the Benefit counter. 


I was browsing the products when an assistant asked me if I needed any help. I explained my dilemma of buying benefits brow shaping kit ''brow zings' and she gave me lots of advice on what would work best with my eyebrows. The assistant then used the product on my eyebrows and showed me how to apply it as she was going along. From the brow zing range she used the medium shade, although it was more of an orange brown compared to how I do them normally, the shade was quite close to the colour of my hair. The product gave me quite a defined brow which is something I was looking for. Overall I loved the product and might be buying it soon - YAY!


While having my eyebrows done we were discussing my blog, and the assistant kindly gave me a sample of the 'Hello Flawless Oxygen WOW' foundation. 
To try out the foundation I decided to do a makeup look. This makeup look was inspired by one of Tanya Burrs Youtube videos: http://www.youtube.com/watch?v=Nx4V0L4EAKo. Tanya herself did this makeup look of Haifa Wehbe and I decided to give this a try. 

~~~~~~~~~~~~~~~~~~~~~~~~~~~~~~~~~~~~~~~~~~


To start with I used my Real Techniques Stippling Brush to apply the Hello Flawless Oxygen WOW foundation. I gently buffed the foundation into my skin in circular motions and worked my way around my face. 


I then started with my eye makeup, I used a flat shadow brush to apply a light gold to the base of  my lid.


Next I used a crease brush to apply a dark, more bronze gold to the crease of my eye.


Then BLEND BLEND BLEND!


To highlight I used a white shadow across my brow and in my tear duct.


Next I used my Studio gel eye liner from Maybeline and applied a thin line to the top of my lid. I then did a cat-eye flick and also brought the eye liner down from my tear duct. On my water line I used my No7 Metallic Eye Pencil in '01 Green'.
 I then used my Maybelline the falsies volume express mascara on my eyelashes.

For my eyebrows I quickly filled them in with a medium brown eyeshadow from my Clinique Strawberry Fudge Duo.


I then applied my Clinique Airbrush Concealer underneath my eyes and around my problem areas.
To contour I took a warm brown and used it along my cheekbone and for blush I used a baby pink and applied that to the apples of my cheeks. I then took my Stay Matte long lasting pressed powder  in the shade 'Peach Glow', and blended that all over my face. 


Lastly for my lips I used my Esteé Lauder Pure Colour Lipstick in the colour 'Hint of Peach'


Hope you liked today's post, feel free to leave a comment below :)

Love Char_Beyy